
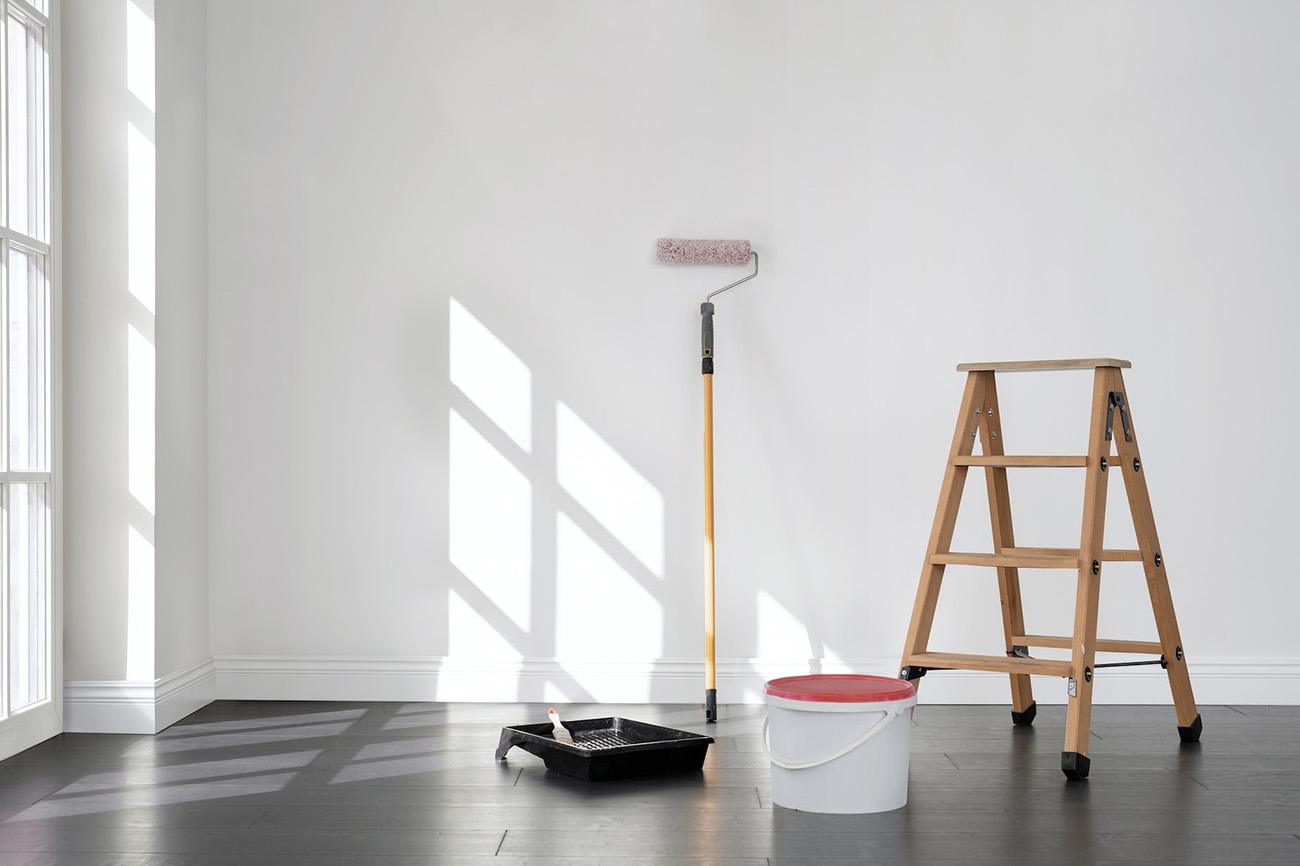
A fresh coat of paint can make a room look cleaner and brighter, but paint alone cannot hide a poorly prepared wall. Small dents, nail holes, dust, grease, loose paint, cracks, and rough patches can become surprisingly obvious once the new paint dries.
That is why wall preparation should not be treated as a quick step before painting. The quality of the finished wall depends heavily on what happens before the roller or brush touches the surface.
Fortunately, preparing most interior walls is a manageable DIY project. You do not need special decorating skills, but you do need patience and a careful approach. The goal is to create a clean, dry, stable, and reasonably smooth surface that gives the new paint a good base.
This guide explains how to inspect your walls, clean them, repair common imperfections, sand problem areas, use primer when necessary, and make a final inspection before painting.
Why Wall Preparation Matters Before Painting
Paint follows the surface underneath it. If a wall has a depression, raised patch, peeling area, or layer of dirt, the new paint generally will not make the problem disappear.
In some cases, paint can actually make imperfections easier to see. Light reflecting across a freshly painted wall can highlight sanding marks, uneven repairs, and small ridges that were difficult to notice on the old finish.
Proper preparation also helps the paint adhere more consistently. A clean and stable surface is easier to coat than one covered with dust, grease, loose paint, or flaking material.
Taking extra time before painting can therefore save you from having to sand, patch, or repaint the wall later.
Inspect the Wall Before Doing Any Repairs
Start by examining the entire wall in good lighting.
Do not immediately begin filling every small mark you see. First determine what kind of surface you are dealing with and whether any problems require more than cosmetic repair.
Look for:
- Nail holes and screw holes
- Small dents and scratches
- Cracks
- Peeling or bubbling paint
- Loose areas of old paint
- Grease or grime
- Water stains
- Mold or mildew
- Damaged drywall or plaster
- Uneven previous repairs
- Wallpaper adhesive or residue
- Areas with a glossy finish
Run your hand gently across the wall. Your fingers can sometimes detect ridges and depressions that are difficult to see from a distance.
Use a bright light held at an angle against the wall if necessary. Side lighting can reveal shallow dents and raised areas.
Pay Attention to Cracks
Not every crack should simply be filled and painted.
Small, stable surface cracks may be suitable for normal DIY repair. However, a crack that is widening, repeatedly returning, unusually large, associated with movement, or accompanied by other signs of structural damage deserves further investigation.
The same applies to walls with significant water staining. Painting over a moisture problem does not solve the underlying cause.
If you see active dampness, recurring water marks, soft drywall, significant mold growth, or a crack that appears structurally concerning, address the underlying problem before painting.
Remove Furniture and Protect the Room
Move furniture away from the wall so you can work without constantly reaching around objects.
Ideally, give yourself enough room to use a sanding block and roller comfortably.
Cover flooring with a suitable drop cloth. Remove or protect wall plates, hardware, curtains, and other items that could interfere with preparation.
If possible, remove electrical outlet and switch cover plates rather than trying to paint neatly around them. Turn off power to the relevant circuit before removing electrical cover plates and only remove the cover itself, not electrical components.
Do not rush this stage. A protected room makes preparation much easier and reduces cleanup later.
Clean the Walls
A wall does not need to look visibly dirty before it needs cleaning.
Dust, cooking residue, fingerprints, smoke residue, and household grime can accumulate gradually. Kitchens and areas around doors, switches, and frequently touched surfaces can be particularly dirty.
Begin with a dry microfiber cloth or duster to remove loose dust and cobwebs.
For washable painted walls, use a mild cleaning solution appropriate for the existing finish. Work from the top downward so dirty water does not run over areas you have already cleaned.
Avoid soaking drywall. Excess water can damage the paper surface and may create additional problems.
After cleaning, allow the wall to dry completely before filling, sanding, priming, or painting.
What About Greasy Walls?
Grease can interfere with paint adhesion.
This is especially common in kitchens, around cooking areas, and near frequently handled surfaces. A mild degreasing cleaner may be necessary, but follow the cleaner’s instructions and test it on an inconspicuous area first.
The important part is to remove the residue rather than simply spreading it around.
After cleaning, allow the wall to dry fully.
Remove Loose or Peeling Paint
Never paint directly over loose paint.
If you find peeling or flaking areas, carefully scrape away material that is no longer firmly attached.
Use a suitable paint scraper and work gently. The goal is to remove unstable material without unnecessarily damaging the wall underneath.
Once the loose paint has been removed, examine the edges.
You may notice a slight ridge where the old paint meets the exposed surface. That transition should be softened with sanding before painting.
Do not assume that because an area is small it can simply be covered with primer and paint. If the old coating continues to lift, the new finish can fail with it.
Repair Nail Holes and Small Dents
Small holes and shallow dents are among the easiest wall imperfections to repair.
Choose a suitable lightweight wall filler or patching compound for the wall material and the size of the repair.
Before filling, remove dust and loose material from the hole.
Apply the filler with a putty knife, pressing it into the damaged area. For a shallow hole, use enough material to fill the depression without creating a large mound around it.
Allow the filler to dry according to the manufacturer’s instructions.
Do not judge the repair only by looking straight at it. Once dry, run your fingers across the area to check whether it is level with the surrounding wall.
If it still feels low, apply another thin layer rather than trying to solve a deep repair with one oversized application.
Repair Small Cracks Correctly
Small cracks can often be repaired, but preparation is important.
First, remove loose material around the crack. If the crack is extremely narrow and only superficial, a suitable filler may be enough.
For a slightly more defined crack, gently opening the surface enough to remove loose edges can help create a more stable repair. Do not unnecessarily enlarge a crack that may have an underlying cause.
Clean away dust before applying filler.
Work the repair material into the crack rather than simply wiping it across the surface. Once dry, sand the repair until the transition between the repaired area and the original wall is difficult to feel.
If the crack comes back after repair, stop treating it as a simple cosmetic problem. Repeated cracking can indicate movement or another issue that needs investigation.
Deal With Uneven Previous Repairs
One of the most common reasons a freshly painted wall looks uneven is not the new paint. It is an old repair underneath it.
You may find areas where previous filler was applied too heavily or was not sanded properly.
Place your hand over the area and move it slowly across the transition.
If you can feel a raised edge, sand it gradually. If there is a depression, apply a thin additional layer of filler, allow it to dry, and sand again.
The objective is not necessarily to make every repair invisible from every angle. Instead, you want to create a smooth transition that will not stand out once painted.
Avoid aggressive sanding that damages the surrounding wall.
Sand the Wall Where Necessary
Sanding is one of the most important preparation steps, but the entire wall does not always need heavy sanding.
Focus on repaired areas, rough patches, peeling paint transitions, and glossy surfaces that need to be dulled.
Use an appropriate fine- to medium-grit sanding material for the job. A sanding block can make it easier to keep pressure even on flat walls.
Move the sanding tool in a controlled manner rather than pressing extremely hard.
After sanding, inspect the area again. Your fingertips are useful here because they can detect small ridges that your eyes may miss.
Do Not Over-Sand Drywall
Drywall has a paper surface. Excessive sanding can damage that surface and make the repair harder rather than easier.
If you begin exposing or tearing the paper, stop and reassess the area.
For small filler repairs, controlled sanding is usually more useful than trying to aggressively smooth the entire surrounding wall.
Remove Sanding Dust
After sanding, do not immediately start priming.
Sanding creates fine dust that can remain on the wall, trim, floor, and nearby surfaces.
Vacuum loose dust using a suitable brush attachment, then wipe the wall gently with a clean, dry microfiber cloth.
The wall should feel clean rather than dusty when you run your hand across it.
Dust left behind can interfere with the finish and may become trapped in the paint.
Know When You Need Primer
Primer is not automatically required before every interior painting project, but it can be very useful in specific situations.
Consider using primer when:
- You have repaired many areas with filler.
- The wall has exposed drywall or plaster.
- The existing surface is very porous.
- You are covering a strong color with a significantly different color.
- The surface has stains that need appropriate stain-blocking treatment.
- The existing finish is glossy and needs a suitable bonding primer.
- You have a mixture of different surfaces and want a more consistent base.
A patched area can absorb paint differently from the surrounding wall. This may cause the repair to look like a dull or shiny spot after painting.
Priming repaired areas can help create a more uniform surface.
The correct primer depends on the existing wall material, coating, and problem you are dealing with. Follow the product instructions rather than assuming one primer works for every situation.
What If the Wall Has a Glossy Finish?
Glossy surfaces can be more difficult for new paint to adhere to.
If you are painting over a shiny existing coating, clean the surface thoroughly and prepare it according to the requirements of the new paint and primer.
Lightly dulling the surface can help remove excessive sheen. A suitable bonding primer may also be necessary.
Do not assume that simply applying several coats of new paint will solve an adhesion problem.
The preparation needs to address the reason the new coating might have difficulty sticking.
Deal With Water Stains Before Painting
Water stains deserve special attention.
If a ceiling or wall has a brown, yellow, or discolored patch caused by a previous leak, first make sure the source of the moisture has been corrected.
Allow the affected area to dry fully.
Repair any damaged wall material as needed. Depending on the condition of the surface, you may also need a primer designed for stain blocking before applying the finish paint.
Painting directly over an active moisture problem can result in staining, peeling, bubbling, or additional wall damage.
If the source of the leak is unknown or the wall feels soft or damp, investigate that problem before continuing with cosmetic work.
Handle Mold and Mildew Carefully
Do not simply paint over visible mold or mildew.
The moisture source needs to be addressed first. The affected surface should then be cleaned using an appropriate method for the material and situation.
For extensive mold growth, recurring moisture, or areas involving significant water damage, professional assessment may be appropriate.
Painting over the visible discoloration without dealing with the moisture problem only hides the surface temporarily.
Prepare the Wall for a Consistent Finish
Once repairs are complete, step back and inspect the entire wall.
Look for differences in texture, sheen, and surface level.
Move a light across the wall if possible. Check from different angles because imperfections can become more obvious under certain lighting conditions.
Run your hand across repaired sections.
If you can clearly feel a raised edge, ridge, or depression, the preparation is not finished.
This is the point where patience pays off. Spending another 15 minutes correcting an uneven patch can be far better than discovering it after the wall has two coats of paint.
A Simple Final Inspection Before Painting
Before opening the paint can, check the following:
The wall is clean. There should be no obvious dust, grease, cobwebs, or loose debris.
The surface is dry. Do not paint over damp areas.
Loose paint has been removed. Old unstable coating should not remain underneath the new finish.
Repairs are smooth. Filler should transition naturally into the surrounding wall.
Sanding dust is gone. Wipe or vacuum the surface carefully.
Problem areas have been primed when needed. This is particularly important for repairs, stains, porous surfaces, and certain glossy coatings.
Cracks have been assessed. Do not repeatedly cover a crack without understanding why it is returning.
The room is protected. Floors, furniture, and fixtures should be covered or removed.
If everything checks out, the wall is ready for painting.
Common Wall Preparation Mistakes
Painting over dust
Even a thin layer of dust can affect how paint bonds and can leave unwanted texture in the finished surface.
Filling without cleaning first
Dust and loose material can prevent filler from bonding properly.
Applying one thick layer of filler
Large amounts of filler can take longer to dry and may shrink or crack. Several controlled applications are often easier to manage.
Skipping sanding
A filled hole can still remain visible if the repair is raised or rough.
Sanding too aggressively
Over-sanding can damage drywall paper or create a larger repair area.
Painting over peeling paint
The new paint can fail along with the old coating.
Ignoring water damage
A cosmetic coating cannot repair an active leak or moisture problem.
Using the wrong primer
Primer should match the surface and the problem. A general-purpose product may not be the right choice for every stain, glossy coating, or porous repair.
Rushing between steps
Filler, primer, cleaner, and paint all need appropriate drying or curing time. Follow the product instructions rather than painting over a surface that is still damp.
When You Should Call a Professional
Many basic wall-preparation jobs are suitable for DIY work, but some situations deserve professional attention.
Consider getting help if you find significant structural cracks, extensive water damage, widespread mold, severely damaged plaster or drywall, large areas of peeling coating, or an unknown moisture problem.
Professional help may also be worthwhile when the wall requires extensive resurfacing rather than a few small repairs.
The goal is not simply to make the wall look good for a few weeks. The preparation should leave you with a stable surface that is appropriate for the new finish.
How to Keep Walls Easier to Paint in the Future
Regular maintenance can reduce the amount of preparation required the next time you repaint.
Deal with small holes and dents instead of allowing them to accumulate.
Fix plumbing or roof leaks promptly.
Clean marks and grease from washable surfaces before they become difficult to remove.
Be careful when moving furniture because repeated impacts can damage corners and walls.
When installing shelves, pictures, or other fixtures, use suitable anchors and fasteners for the wall type.
Good maintenance does not eliminate preparation, but it can turn a major repair job into a short cleanup and touch-up process.
Final Thoughts
A smooth painted wall starts long before the paint goes on.
Cleaning, repairing, sanding, removing loose coating, dealing with moisture problems, and using primer where appropriate may not be the most exciting parts of decorating, but they have a major effect on the final result.
Take your time during inspection. Repair imperfections properly instead of trying to hide them with extra paint. Most importantly, do not paint over problems that need to be solved first.
When the wall is clean, dry, stable, and smooth, the painting itself becomes much easier. You will also have a better chance of getting the even finish you were hoping for when you started the project.
Frequently Asked Questions
Do I need to wash walls before painting?
Usually, cleaning is a good idea, particularly on walls with dust, fingerprints, grease, smoke residue, or other grime. A clean surface gives the new coating a better base.
Do I have to sand walls before painting?
Not necessarily the entire wall. Sand repaired areas, rough spots, peeling-paint transitions, and surfaces that require light abrasion. Avoid unnecessary aggressive sanding on drywall.
Can I paint directly over old paint?
Sometimes. The existing paint should be firmly attached, clean, dry, and compatible with the new coating. Peeling, damaged, greasy, or very glossy surfaces require additional preparation.
Should I prime after filling holes?
Often, yes. Filler can absorb paint differently from the surrounding wall. Priming repaired areas can help create a more consistent surface, especially when many repairs have been made.
How long should wall filler dry before sanding?
Follow the manufacturer’s instructions. Drying time depends on the product, thickness of the repair, temperature, and humidity.
Can I paint over a small crack?
Only after determining that it is a suitable cosmetic repair. If the crack keeps returning, becomes larger, or is accompanied by other signs of movement or damage, investigate the underlying cause instead of repeatedly painting over it.
What should I do if my wall has a water stain?
Find and correct the moisture source first. Allow the area to dry, repair damaged material if necessary, and use an appropriate stain-blocking primer before repainting when required.
Why can I still see patches after painting?
The repair may not be level with the surrounding surface, or the repaired area may be absorbing paint differently. Sanding and appropriate priming before the final coat can help prevent this problem.